Case in point-the instructions for my pattern start off with sewing the patch pocket onto the left front side. Whewww glad it does, because so many problems have already cropped up with just this small item.
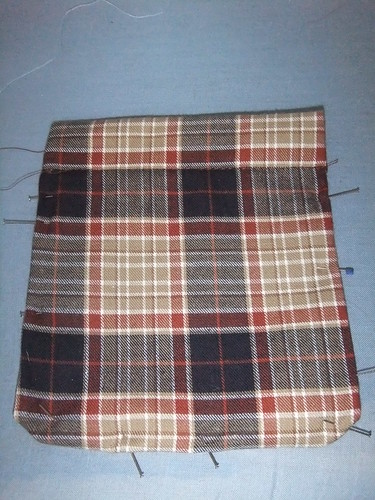
I made the pocket.
It looked nice and straight while I was making it. Looks like crap in this photo.
It looked nice and straight while I was making it. Looks like crap in this photo.
I spent over an hour trying to get the lower edge which is curved to be the same on both sides. I found this video which I thought was terrific and happily got to doing it like she said.
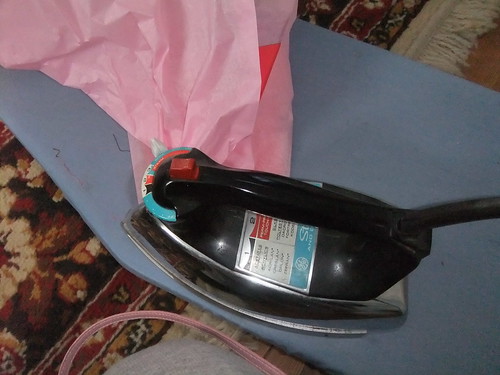
I sort of got it to work...not really. The fabric I am using does not hold a sharp crease and the curved edged just kept coming undone. I thought I was really fancy and got out my heat-n-bond hem stuff...and ironed it down with a pretty nice curve. I was quite proud of myself. And then this....

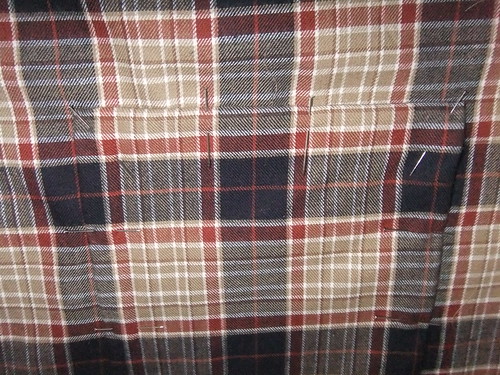
OMGoodness...the plaids don't match. You're kidding me right?
After the (excuse my language)anal-ness of my cutting? This almost caused me to jump out the window and then I realized with all the snow we are getting it would have been about a foot drop.
So back to the drawing board I went. This time I matched up...forgot the curved lower corners and made them square...and ended up with this.
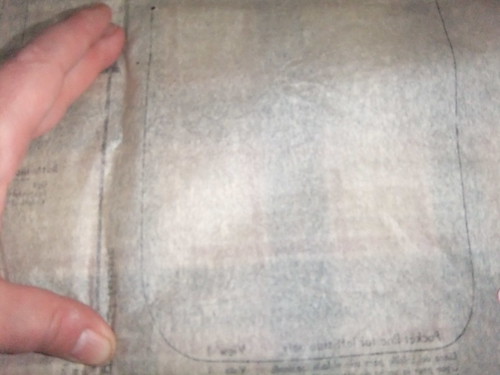
Not bad. BUT it is not exactly in the position the pattern calls for.
I don't know if you can tell from the photo below, but it is about 1/4 inch or more too far to the left.
You can kind of see the crease where my fingers are.
So the questions are these:
1) should I have gone ahead and started the pocket (granted it is only the muslin). Don't really answer this I know the answer already.
2) when will Peter do the pocket on the Negroni? I don't have that pattern so have no idea when it calls for putting the pocket in.
3) How the hell do you work with plaids? Is this only the beginning of my nightmare?
Oy...Let it snow, let it snow, let it snow.
And a big happy birthday to my Daddy who is 84 today.
My parents went on a cruise and were supposed to come home yesterday.
God only knows when they will be able to make it back east.
I would't worry about a 1/4" difference in placement. A 1/4" is a very very small difference in sewing. Unless it is a quilt, and the the 1/4" is repeated a dozen times, it shouldn't matter.
ReplyDeleteWhat about doing diagonal plaid pockets? THanks for the link; I'm going to jump in on this project. (My simplicity shirt pattern from 1968 shows diagonal pockets as an alternate view.)
ReplyDeleteLisa, I recommend doing a pocket like that on the bias. I do pockets last generally, because half the time I decide against them at the last minute, esp. because plaid is already busy.
ReplyDeleteYou'd have an easier time if you interface your pocket to stabilize it. Curved bottoms are tricky. I always make two pockets side-by-side: it's more important that they be identical than that the match the pattern piece perfectly.
White glue to get the edges down can also help. Or baste by hand.
Thank goodness this is only a muslin...and thanks for all the hints. I might just forgo the pocket altogether as Peter suggests. The pattern only calls for one pocket and I suppose it is to keep your pack of cigarettes in (notice Mr. Plaid has one in his hand). Hubby would not even hold a cigarette, much less smoke one so screw the damn pocket. Carry on!
ReplyDeletePlaids are not generally fabric choices for the novice seamstress - you silly goose! Yet - it's an important pattern to work with and, no doubt, you will learn so-sew-so much from this challenge that has chosen you!
ReplyDeleteHave fun!!!
Trace the pocket piece. Position the piece on the cut shirt front where the pocket is supposed to be. Trace the lines of the shirt plaid onto your pattern piece. Remove pocket pattern from shirt and line up your traced lines on your fabric. Pin in place and cut.
ReplyDeleteFor curved-bottom pockets, you need to trim the seam allowance a LOT, so it lays flat inside the pocket. I will also cut two pockets and machine baste them RS together, press the seams open, and then remove the basting. Result: Two pockets with pressed in seam allowance and zero burned fingers. Toss the extra pocket if you're only using one.
It's probably best to stay at Peter's pace because he'll have tips and hints that you'll miss being able to apply if you skip ahead. ;-) Don't stress about finishing "on time" (is there even a deadline for this?). Just focus on finishing with a nice shirt at the end.
You are so brave. Plaid can be so tricky. It looks like you're getting it, though.
ReplyDeleteThe deadline is late February but I'm not saying what year. ;)
ReplyDeleteDamn I wish this was like facebook and I could "like" comments.
ReplyDeleteThe good news is, I will stop for the moment and go along with the sew-snow-a-long...I did however sew the yoke & yoke facing to the shirt back and because hubby is home for the day, I was able to fit it on him...way too long, but otherwise looks good..I think!
I have an easy peasy way of making round bottom pockets, instead of cutting out 2, cut 4. Sew them together, right sides facing and sew all around except the straight top. Turn inside out and continue making your pocket as per the instructions for the top part then top stitch onto your shirt. Voila, perfect round bottom pockets!
ReplyDeleteDon't sweat it, the final version looks awesome! I'm guessing the stripes on the front of my shirt won't match up at all!
ReplyDeleteI have never been able to match up plaids or stripes exactly, unless I hand baste first, because the pin thickness will throw it off just enough. I sat in class one day for two hours trying to get stripes on darts to match up and failed every time. Oh well.